Part II: Beech Design Puzzle
Well, then, this is where we made the cut on the beech tree…
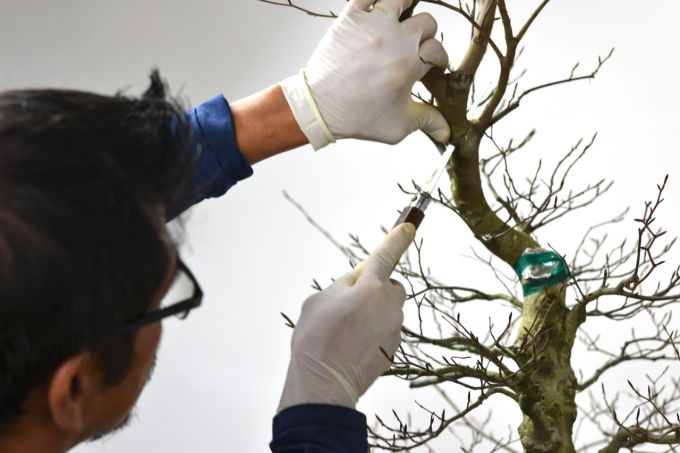
…to the first strong leader that continues a flowy trunk line.
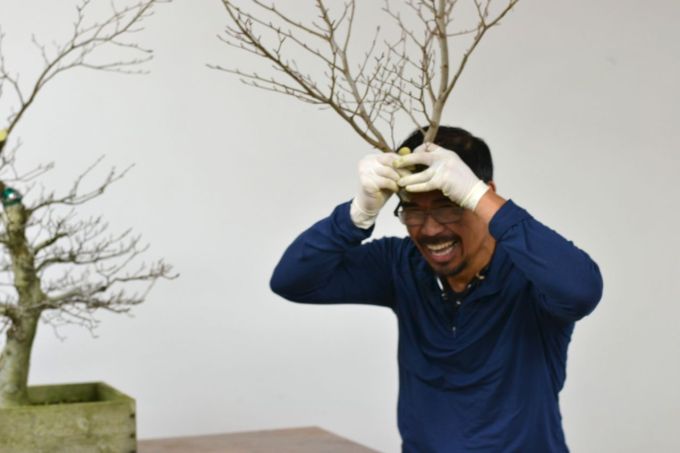
Tony in a festive mood.
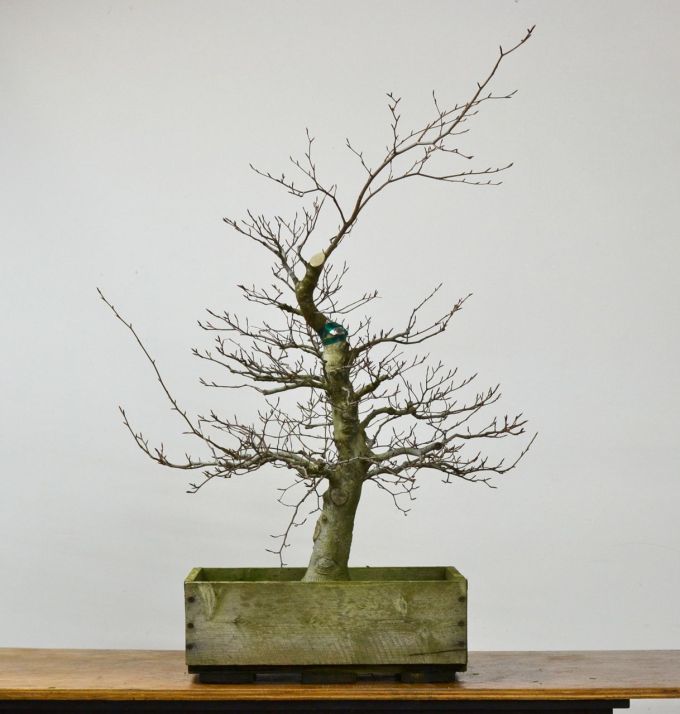
The new leader continues the flow of the trunk. In a couple years it too will be removed. Then the decision will have to be made whether to repeat the process, cutting to a new leader, or to begin keeping the top restrained and create a canopy. I think this tree will only get better, given its faults, if we do the process as least once more. One of my core beliefs with a tree that has faults like this is to grow it into the next size larger bonsai. Literally, grow it out of its problems.
 If we had cut to one of the smaller, weaker branches below the leader, we would have lost about a year of momentum in the tree. To build up momentum in the new leader, I let it push for a year, trimming back the other branches on the tree. In other words, I preselected the place I was going to cut back to a year in advance. With that vigor continued, the cut will callus faster, and I won’t lose time building the tree’s trunk.
Here’s the first part of this design puzzle:
https://crataegus.com/2016/11/16/part-i-beech-design-puzzle/
12 Comments
Thanks for the great post and your wonderful blog. I am curious about how the curve between the two cuts was achieved? Was it wired in or did you select a leader with natural movement? Also is that foil on the old cut?
Yes, the new leader did have a wire on it. And the foil is there to help collect a bit of heat and stimulate wound closure.
Hi Michel……seems like I got this one LOL….. I notice that the cut looks shiny as in “sap flow”, did you seal the cut as you did on the one from last treatment?
The wound sealant was still wet…It’s a different sealant from the Shore Pine cuts, but both are liquids.
Perfect. Just what I had thought.
what is the purpose of the blue(grafting?) tape? used the foil before to help callousing, but not the tape in this way, to help keep a flat callous?
Yes, the tape was really just to keep the foil on, which seems to come off easily when the callus grows. A clear tape would have been a better choice, really.
Michael, Thanks for the great explanation. I honestly would have choose to cut it to one of the weaker branches on the left side, but I now understand how that might slow the tree down. I like the idea of trying to get the tree to outgrow its flaws. I never did get to ask you what the tin foil was for on the old cut wound? Keeping the aliens at bay or a mini incubater for the wound? These articles are great, keep them coming!
Alan
Yes, tin foil for speeding up wound closure-
This was a very helpful post for those of us who are not “masters.” We can see what you had, what you did and most importantly, why you did it that way. Thanks. I can use this information on a hornbeam I have with similar issues. >
Hi Michael,
Thanks for the interesting post. I also have a Japanese beech with some choices to make but that keeps it interesting. I am missing branches. What is the best way to graft branches on a beech? So far my contact grafts didn’t work :-(.
Best
David
It’s really a challenge! I’ve tried both approach grafts and thread grafts and the approaches finally take but they make a rather ugly graft. So…I’m not too happy yet with my grafting on beeches. It works, but it does take a while. Definitely push your tree when grafting, for the stock cambium in particular needs encouragement.